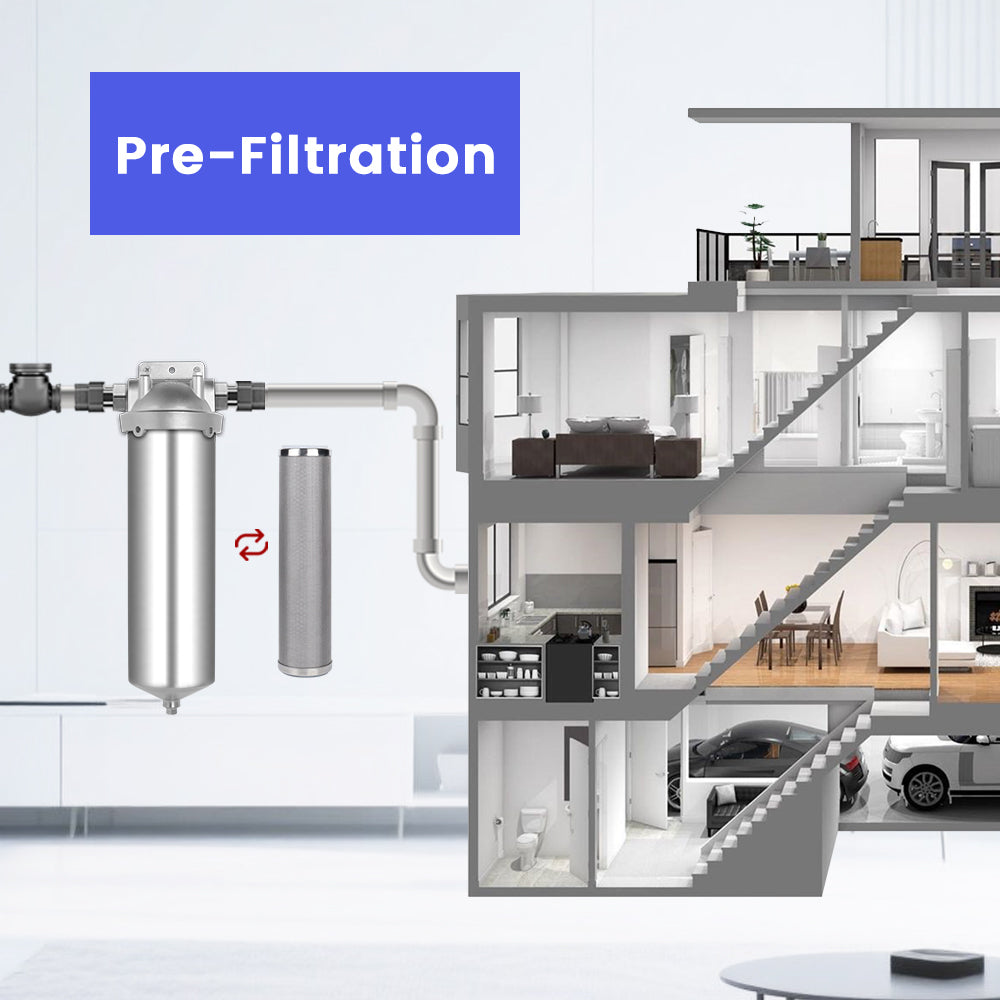

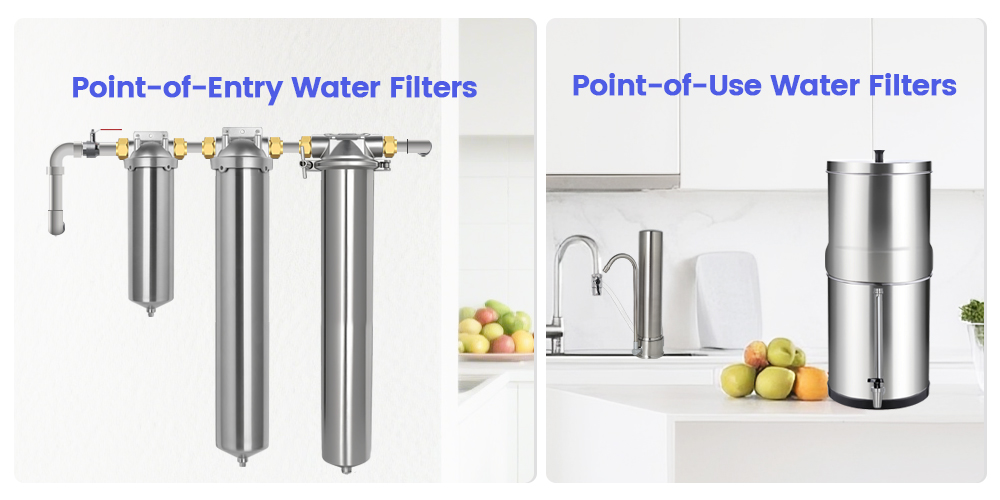
Water is the lifeblood of every household. From the coffee you brew in the morning to the water you use to wash your organic vegetables, the quality of your water directly impacts your health, the taste of your food, and even the lifespan of your home appliances. A whole house water filter system is an essential investment for any homeowner, providing a comprehensive shield against sediment, chlorine, and other contaminants before they even reach your faucets.
However, a filtration system is only as good as its maintenance. Understanding how to replace a whole house water filter is crucial for ensuring that your family always has access to pristine water. In this guide, we will walk you through everything you need to know about maintaining your system, from preparation to the final pressurization.
Introduction to Whole House Water Filters
Why Quality Matters
The Importance of Regular Replacement
- Water flow and pressure will drop significantly as the filter clogs.
- Bacteria can begin to grow within the organic matter trapped in the filter.
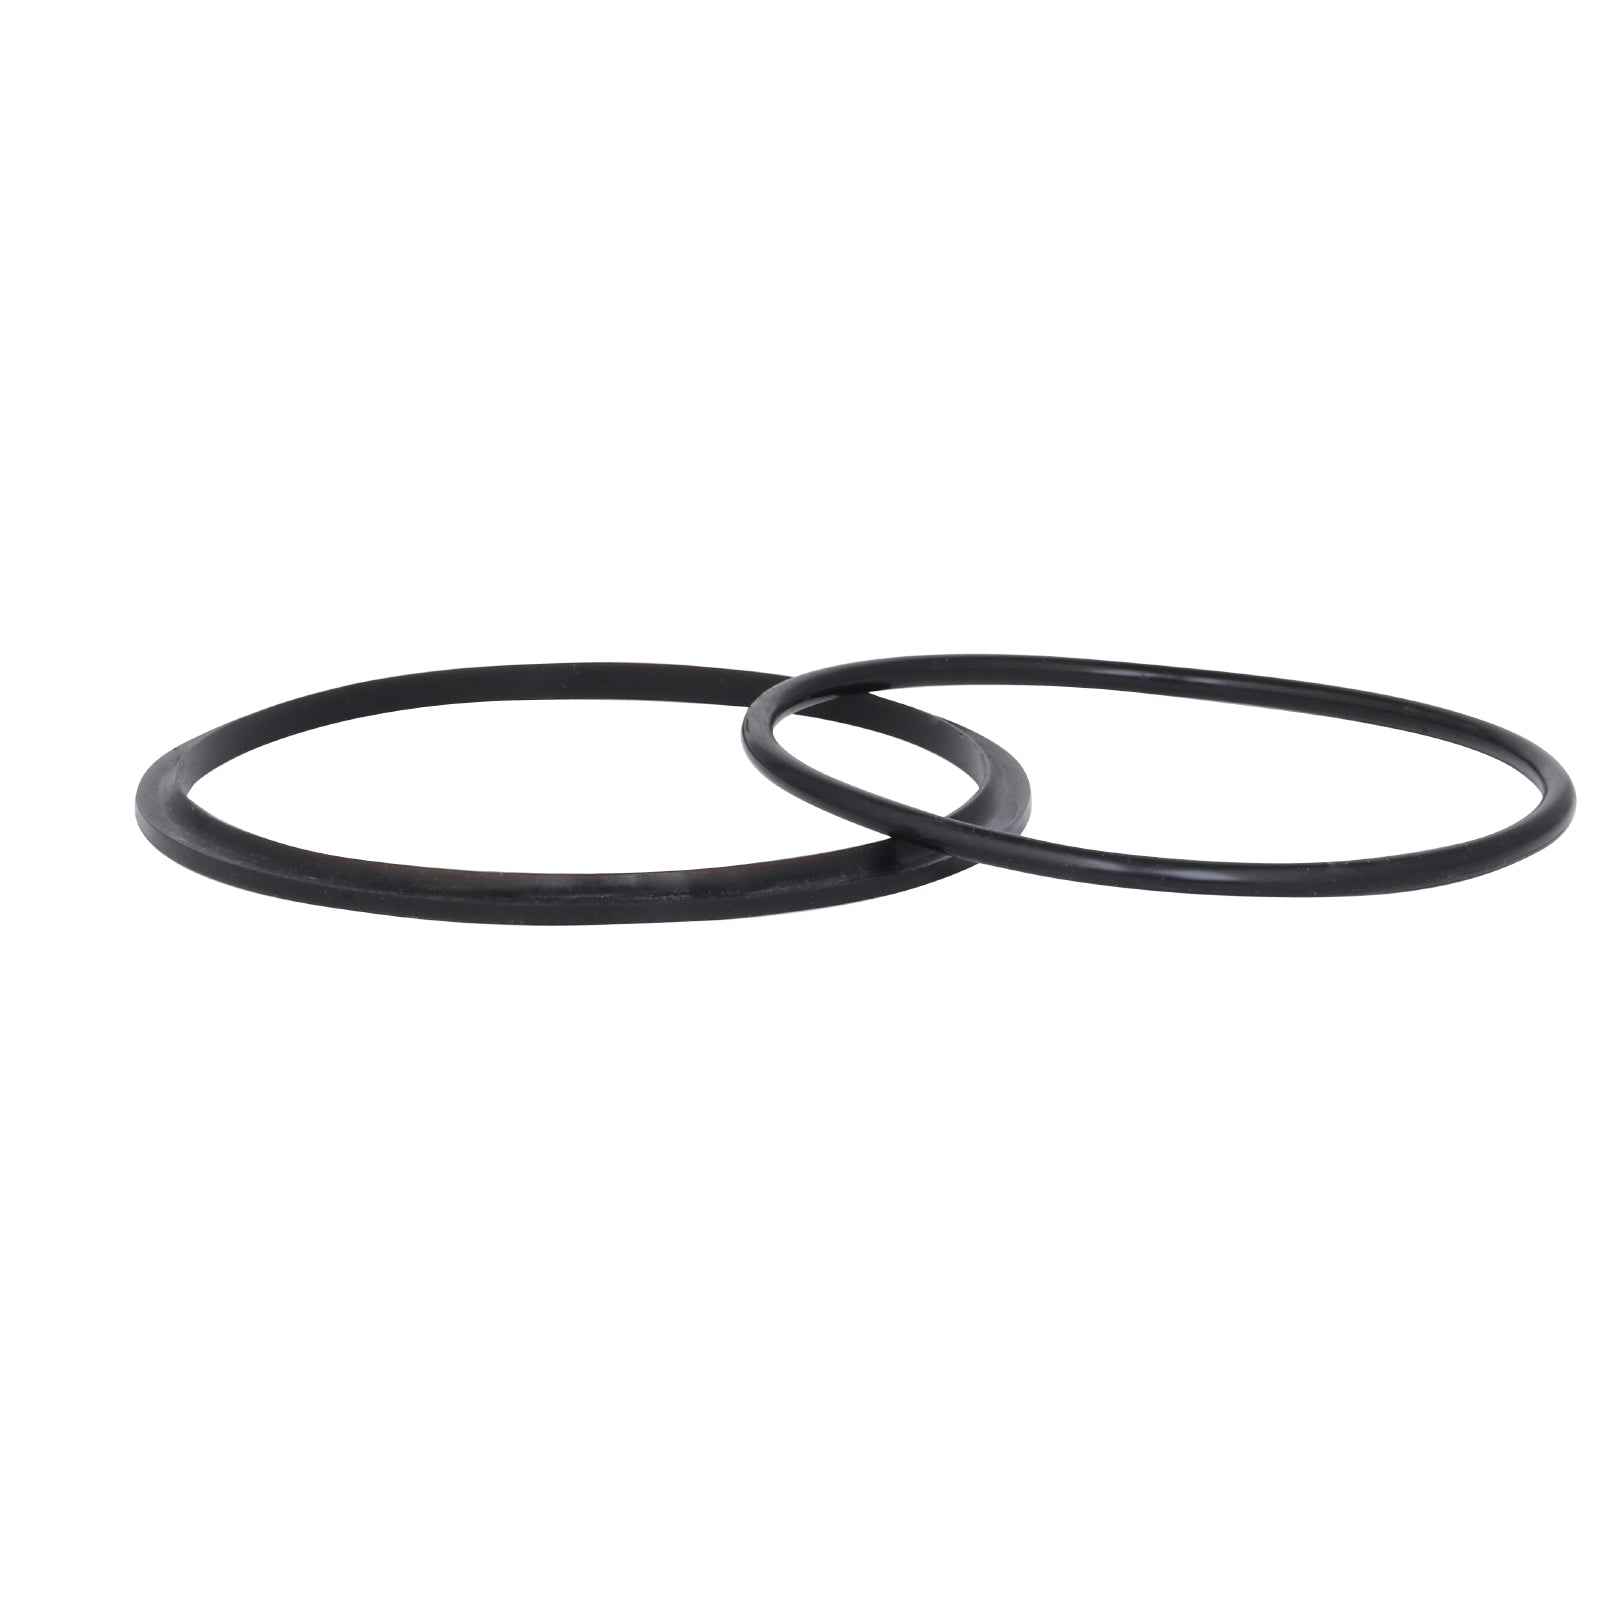
- Leaks can occur due to increased pressure buildup or degraded O-rings.
Preparing for Replacement: Setting the Stage for Success
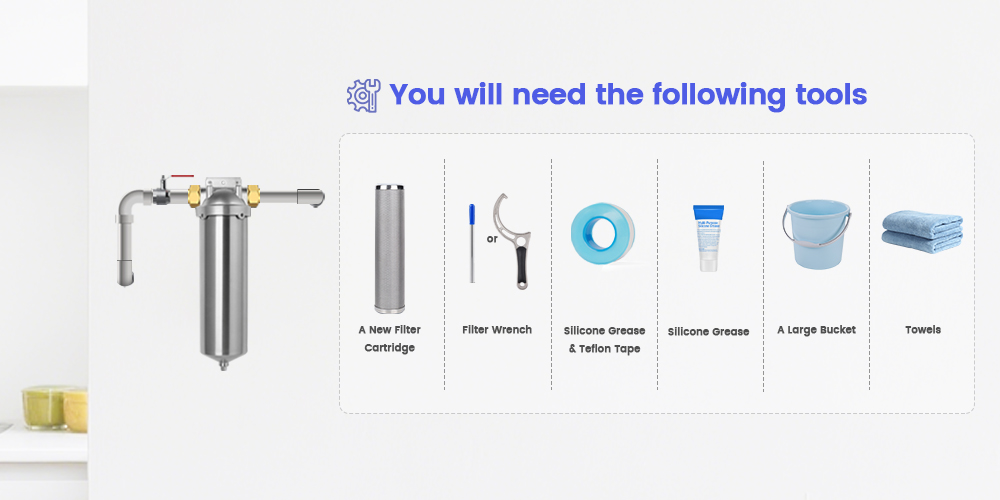
Gather Your Supplies

-
A New Filter Cartridge: Ensure it matches your system’s specifications.
-
Filter Wrench: Usually a plastic circular tool designed specifically for your housing size.
-
Silicone Grease & Teflon Tape: For sealing threads and lubricating O-rings.
-
A Large Bucket: To catch the "spill-off" water trapped in the housing.
- Towels: For cleaning up any stray drips.
Know Your Water Source
Your replacement filter choice should depend on your water source.
Well Water: Often requires heavy-duty sediment filters. Amwater's Sediment Filters are ideal here, as they offer high surface area for trapping silt and sand.
Municipal Water: Focuses more on chemical removal. A Carbon Block Filter is usually the best choice to eliminate that "swimming pool" chlorine smell.
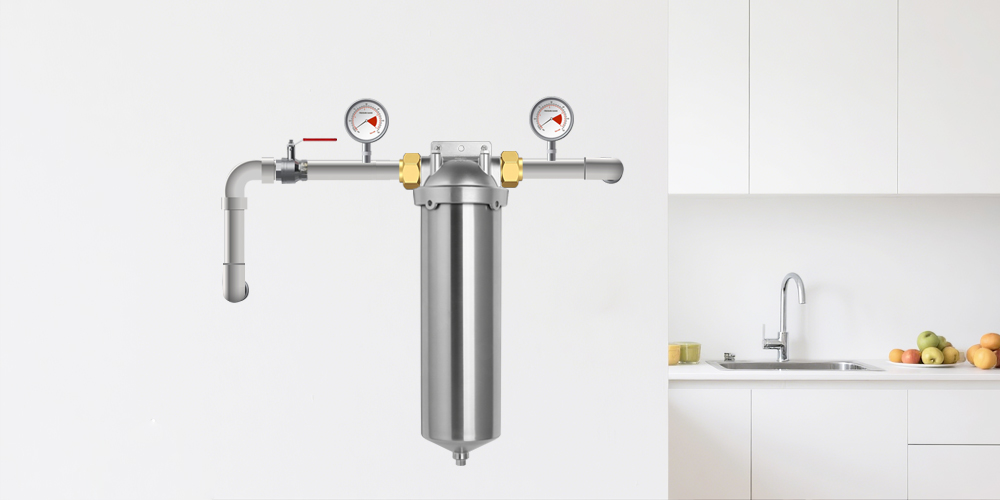
Locating and Accessing the Filter Housing
Most whole house systems are installed in a utility closet, basement, or garage, typically near the main water shut-off valve or the water heater.
Identifying the Housing
Isolate the System

1. Turn off the main water supply to the house.
2. Close the bypass valves on either side of the filter housing (if your plumber installed them).
3. Open the nearest faucet (like a laundry sink) to drain any remaining pressure from the lines. This prevents a "water burst" when you open the filter.
The Replacement Process: Step-by-Step
Now that the system is isolated, it’s time to swap the old for the new.
Step 1: Removing the Old Filter
Place your bucket directly under the housing. Slide the filter wrench up the housing and turn it.
Once the housing is loose, unscrew it by hand. Be careful—the housing will be full of water and can be quite heavy. Dump the water and the old filter into the bucket.
Step 2: Inspect and Clean
Take a look inside the housing. If there is visible slime or sediment at the bottom, wash it with mild soap and warm water. This is also the time to inspect the O-ring (the black rubber ring at the top of the housing). If it looks cracked or flattened, replace it.
Step 3: Lubrication and Sealing
Apply a thin layer of silicone grease to the O-ring. This ensures a watertight seal and makes it easier to remove the filter next time. Do not use petroleum jelly (like Vaseline), as it can cause the rubber to swell and degrade. If your system uses threaded fittings that look worn, apply a fresh wrap of Teflon tape to the threads.
Step 4: Inserting the New Filter
Place the new filter into the housing, ensuring it is centered on the standpipe at the bottom. Amwater offers a variety of specialized cartridges:
- For Fine Sediment: Use our Melt-Blown Polypropylene Cartridges.
- For Chemical Taste: Opt for our high-quality Granular Activated Carbon (GAC).
Screw the housing back onto the head by hand. Use the filter wrench only for a final 1/8th turn to snug it up. Over-tightening is a leading cause of cracked housings!
Check Connections: Ensure the housing is straight and the threads aren't cross-threaded.
Slowly Turn on the Water: Do not blast the water back on. Slowly open the inlet valve. You will hear the air escaping through the open faucet you used earlier.
Release Air: Press the red pressure-relief button on top of the housing until water starts to squirt out. This removes air pockets that can cause "water hammer" or sputtering at your taps.
Check for Leaks: Watch the housing for at least 5 minutes. If you see a drip, you may need to tighten it slightly or re-seat the O-ring.
Final Checks and Long-Term Maintenance
Congratulations! You've successfully serviced your system. But the job isn't quite done.
Flush the System
Let the water run from a nearby faucet for about 5–10 minutes. If you installed a carbon filter, the water might look gray or cloudy at first—this is just "carbon fines" (dust) being washed away and is completely normal.
Maintenance Log
Consider a Upgrade
Conclusion: Why Trust Amwater?
At Amwater, we believe that clean water is a right, not a luxury. By mastering the art of whole house water filter replacement, you are taking control of your home's health and efficiency.
Choosing the right filter doesn't have to be overwhelming. Whether you are dealing with the harsh minerals of well water or the chemical additives of city water, our team at Amwater is dedicated to providing high-performance, precision-engineered filtration solutions.
Ready to find your next replacement filter? Visit Amwater Filter today to explore our full catalog of pleated, melt-blown, and carbon cartridges designed to keep your water crystal clear.
Leave a comment
This site is protected by hCaptcha and the hCaptcha Privacy Policy and Terms of Service apply.