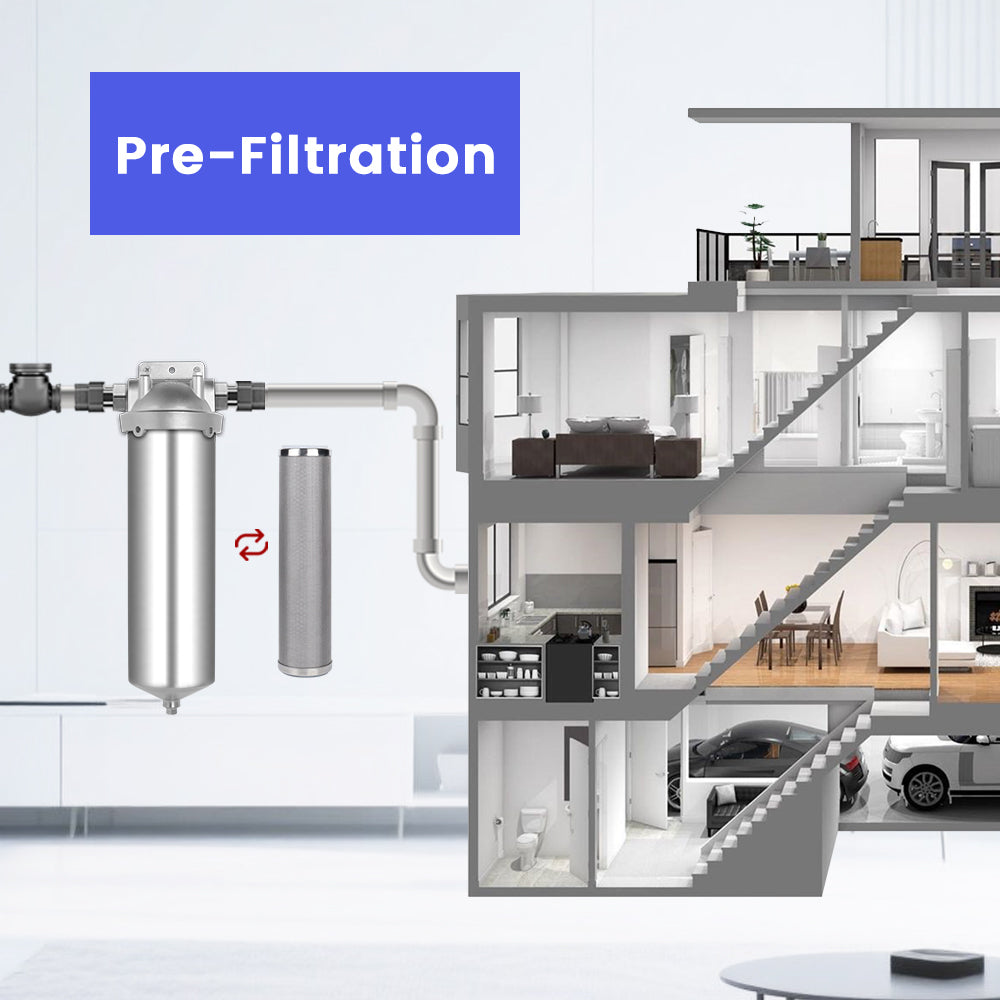

Maintaining a whole house water filtration system is essential for clean, sediment-free water. However, many homeowners eventually face a daunting challenge: the water filter housing stuck so firmly that a standard plastic wrench simply won't budge it. Whether it is due to high internal pressure, mineral buildup, or an over-tightened O-ring, a stuck canister can turn a ten-minute maintenance task into a multi-hour ordeal.
In this guide, we will walk you through the professional techniques to safely loosen a stubborn housing, the tools you need, and the critical steps to ensure it never happens again.
Quick Safety Checklist for Whole House Water Work
Before you apply force to your plumbing, safety must be your priority. High-pressure water and heavy-duty tools require a cautious approach.
- Shut off the main water supply: Locate the main shut-off valve to prevent accidental flooding if a pipe cracks.
- Wear eye protection and gloves: Protect yourself from sudden water sprays or debris during the removal process.
- Prepare your workspace: Have plenty of towels and a large bucket ready to catch the water remaining in the lines.
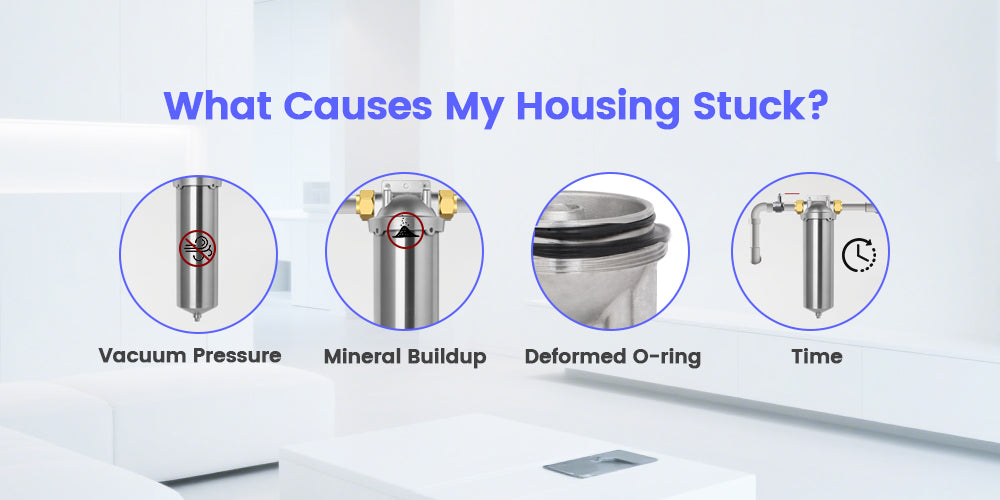
Diagnose Why the Filter Housing is Stuck
Understanding the root cause of the resistance will help you choose the right method for removal. Usually, a water filter housing stuck situation is caused by one of these factors:
- Vacuum Pressure: If the internal pressure hasn't been relieved, the vacuum keeps the housing sealed shut.
- Mineral Buildup: Hard water minerals can calcify in the threads, acting like a natural "glue".
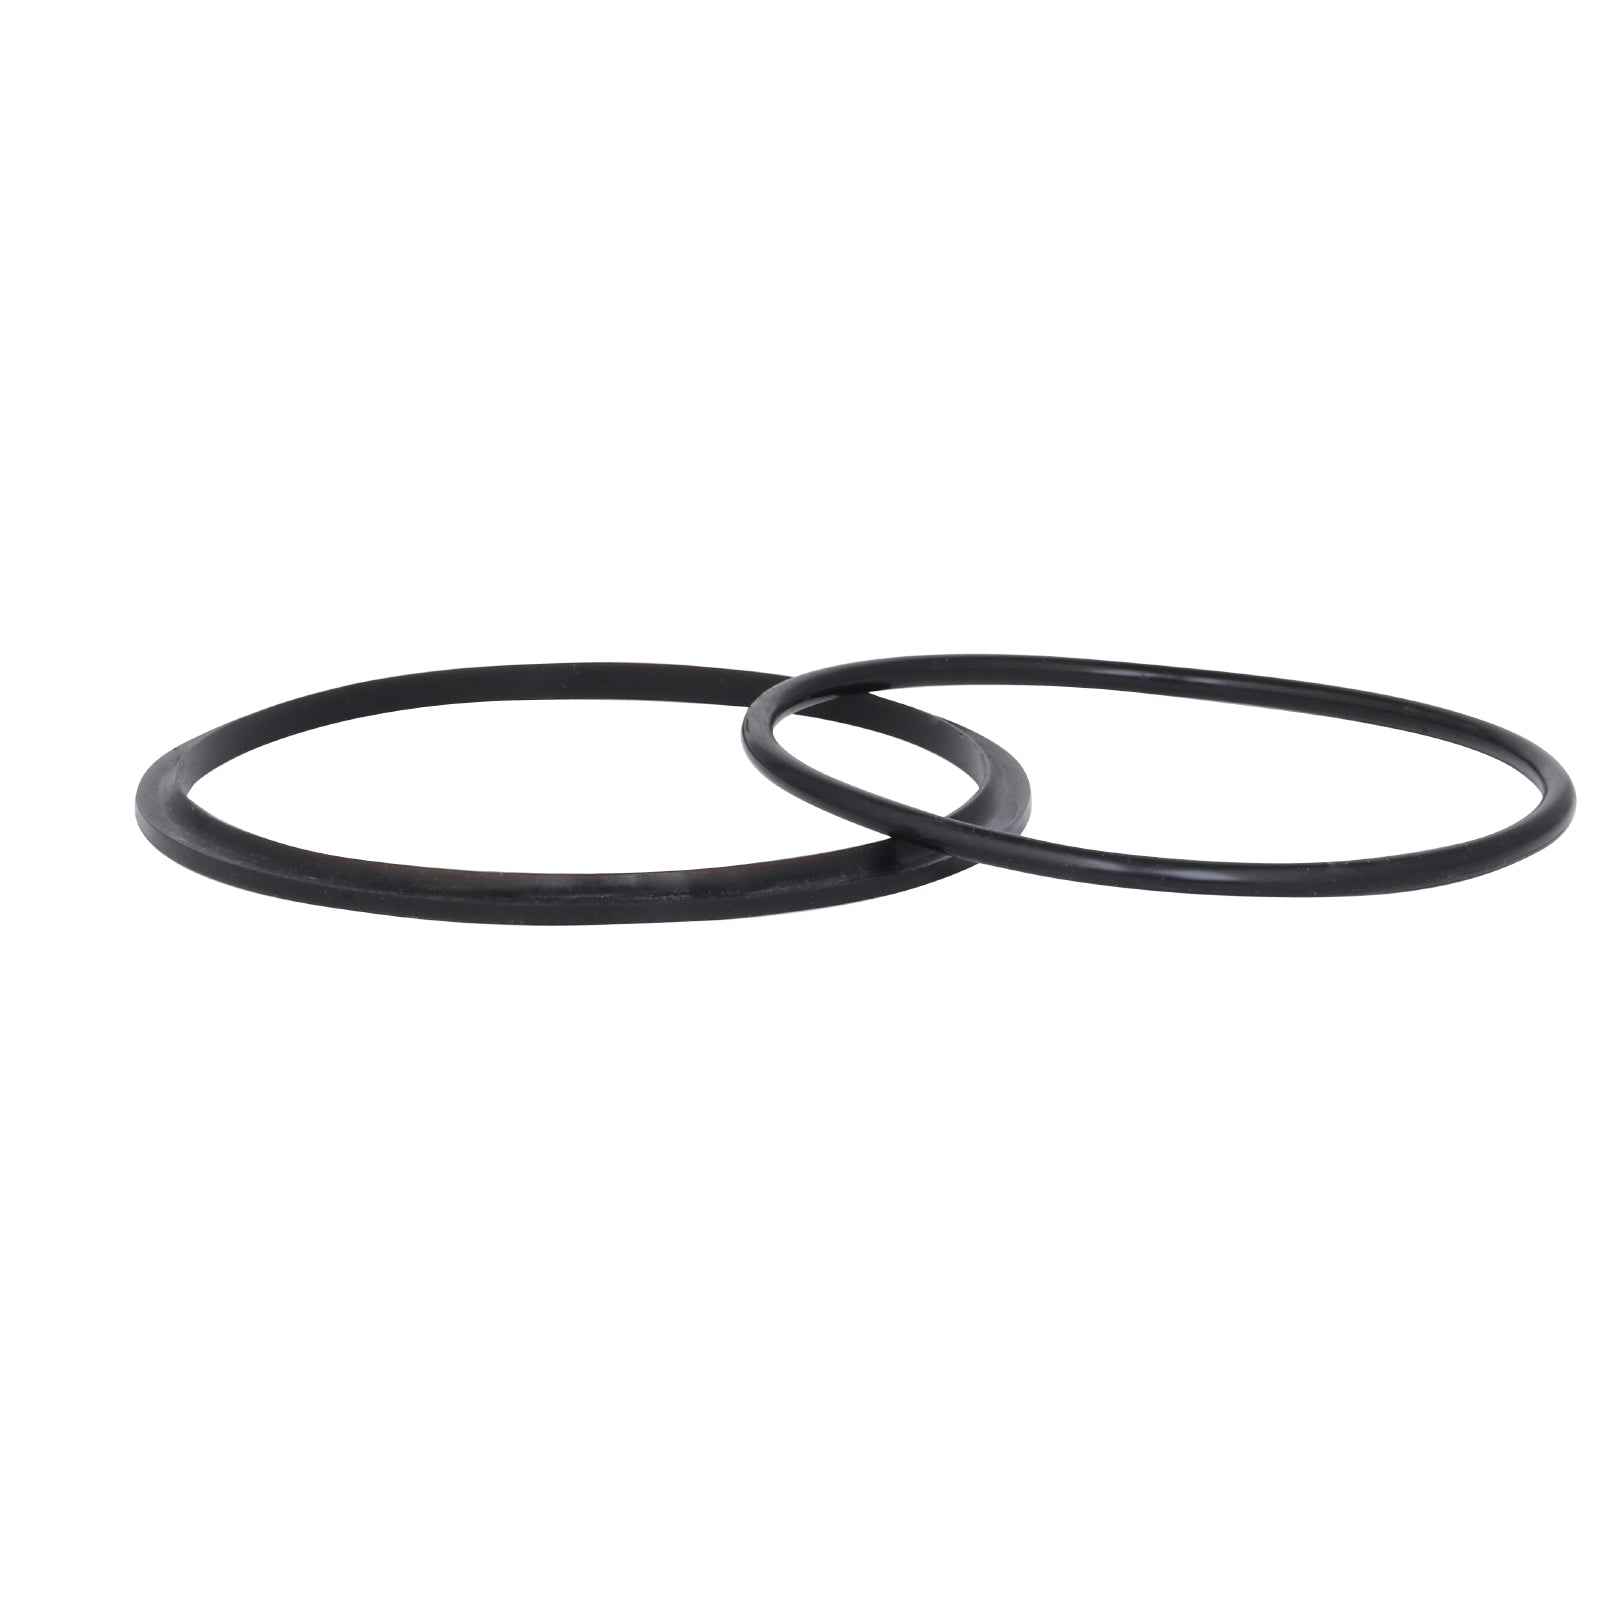
- Deformed O-ring: An unlubricated O-ring can swell or bind against the housing wall.
- Time: If the filter has not been changed at the recommended intervals, the seal becomes more difficult to break.
Tools and Supplies for Removing a Stuck Filter Housing
If your standard plastic wrench failed, you will need a more robust kit to get the job done:
- Correct Filter Wrench: Ensure you are using the specific wrench designed for your housing model.
- Metal Strap or Lisle Wrench: For extreme cases, a metal strap wrench provides superior grip and torque.
- Lubricants: Penetrating oil or white vinegar (to dissolve minerals).
- Leverage Tools: A 1/2-inch breaker bar or a length of extension pipe to fit over your wrench handle.
- Maintenance Spares: Always keep a replacement O-ring and food-grade silicone grease on hand for reassembly.
Step-By-Step: Release Pressure from the Filter
The most common reason a housing won't move is residual pressure. You must neutralize this before attempting to turn the canister.
- Close the inlet valve: This stops the flow of water into the filter unit.
- Relieve downstream pressure: Open a faucet located further down the line (like a kitchen or bathroom sink) to let the pressure bleed out.
- Use the relief button: If your filter head has a red pressure-relief button, press and hold it.
- Wait for silence: Do not proceed until no more water or hissing air remains in the system.
Step-By-Step: Loosen the Stuck Filter Housing
Once the pressure is gone, follow this escalating scale of force to loosen the threads:
- Hand-Turning: Attempt to turn the housing counterclockwise by hand first to gauge the resistance.
- The Mallet Tap: Gently tap the side of the housing with a rubber mallet to vibrate the threads and break mineral bonds.
- Apply Penetrating Oil: Spray oil or apply white vinegar to the seam where the housing meets the head.
- The Soak: Let the oil or vinegar sit for at least ten minutes to penetrate the threads.
- Wrench and Leverage: Place your filter wrench as high up on the housing as possible. If it still won't budge, slide an extension pipe over the wrench handle to increase your leverage. Caution: Apply steady, even pressure; jerky movements can snap the plastic.
Advanced Mechanical Methods
If basic leverage fails, you may need these advanced mechanical tactics:
- Opposing Leverage: Use two wrenches—one to hold the mounting head steady and the other to turn the housing—to prevent putting too much stress on your wall pipes.
- Controlled Heat: Use a heat gun on a low setting on the exterior of the housing to slightly expand the plastic/metal and loosen the grip.
- Ratchet Extension: Use a heavy-duty strap wrench paired with a ratchet extension for maximum controlled force.
When to Cut Out and Replace the Housing
Sometimes, the damage is internal. If the threads are stripped or the head is cracked, repair is no longer an option.
- Verify Damage: If the housing is irreparably seized or the plastic is showing white "stress marks," it is time to replace it.
- Drain the System: Ensure the section is fully drained before cutting.
- The Cut: Use a reciprocating saw to carefully remove the stuck canister.
- Install New: Replace the unit with a high-quality housing from AmWater and ensure the new O-ring is properly seated.
Preventing Future Stuck Filter Housings
Prevention is the best cure. Follow these maintenance tips to ensure your next filter change is effortless:
- Clean the Threads: Use a soft brush to remove sediment and minerals from the threads during every change.
- Silicone Grease: Apply a thin layer of food-grade silicone grease to the O-ring. Never use petroleum-based jelly, as it can degrade the rubber.
- Hand-Tighten Only: Never use a wrench to tighten the housing. Hand-tight is usually sufficient to create a seal.
- Timely Changes: Replace filters at recommended intervals to prevent the housing from "setting" in place.
- System Flushing: Regularly flush sediment from your main lines to keep the filter housing clean.
Inspect and Maintain After the Fix
Once the new filter is in and the housing is back on, perform a final check:
- Check for Leaks: Slowly open the water supply and watch the fittings for any drips.
- Purge Air: Run water at a nearby faucet to remove any air pockets or loose debris from the lines.
- Monitor Pressure: Ensure your house water pressure is consistent.
- Test Quality: If you notice unusual odors or sediment after the fix, perform a water quality test.
When to Call a Plumber
DIY is great, but knowing when to stop can save you thousands in repair bills. Call a professional if:
- The filter head or the main copper/PEX pipes are cracked.
- You notice damage to PVC glue joints or soldered connections.
- You lack the proper tools or do not feel confident applying high levels of torque to your plumbing.
- Safety Warning: Never use an open flame near your plastic piping; if heat is required beyond a heat gun, call a pro.
Is your water filter housing stuck beyond repair? Explore our selection of heavy-duty replacement housings and professional-grade wrenches at AmWater to ensure your next maintenance day is stress-free.


Leave a comment
This site is protected by hCaptcha and the hCaptcha Privacy Policy and Terms of Service apply.