
Access to clean, safe, and great-tasting water is a fundamental necessity for every household. While municipal water treatment facilities do a decent job, tap water can still contain residual chlorine, heavy metals, microplastics, and sediment from aging underground pipes. For well water users, the challenges are even greater, often involving sand, rust, and organic contaminants.
If you are a DIY enthusiast looking to take control of your home’s water quality, building your own filtration system is an incredibly rewarding and cost-effective project.
But how to build a water filtration system at home that is reliable, pressurized, and leak-free?
In this comprehensive, step-by-step guide, we will walk you through designing and assembling a highly efficient, professional-grade home water filtration system.
Understanding the Basics: How Home Water Filtration Works
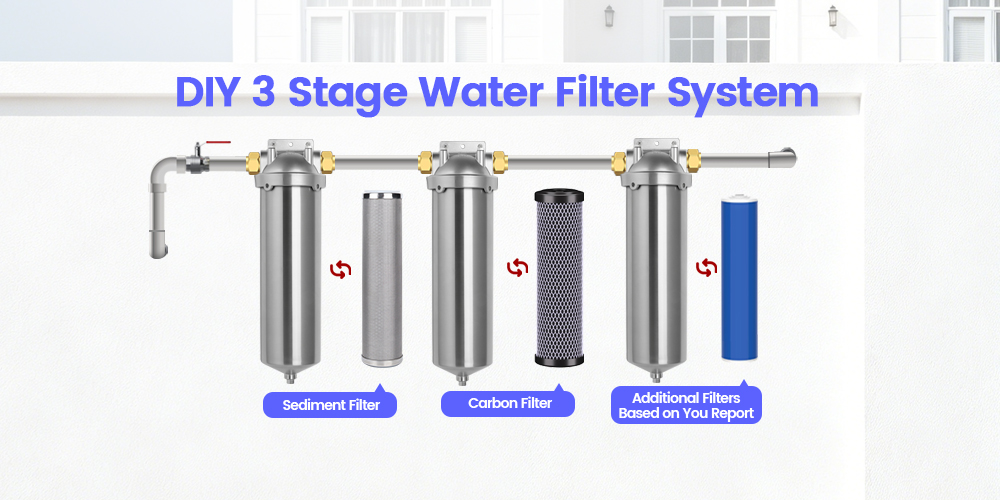
Before reaching for your tools, it is crucial to understand that no single filter medium can remove every type of contaminant. The most effective home filtration systems utilize a multi-stage design, where water passes through different filters sequentially:

- Stage 1: Sediment Filtration: This acts as the first line of defense. It mechanically traps larger physical particles such as dirt, sand, rust, and silt, protecting the subsequent delicate filters from clogging prematurely.
- Stage 2: Carbon Adsorption: Usually consisting of an activated carbon block, this stage chemically bonds with chlorine, volatile organic compounds (VOCs), bad tastes, and foul odors, dramatically improving water purity and flavor.
- Stage 3: Fine/Specialty Filtration: Depending on your water report, this final stage can target specific heavy metals, bacteria, or scale reduction.
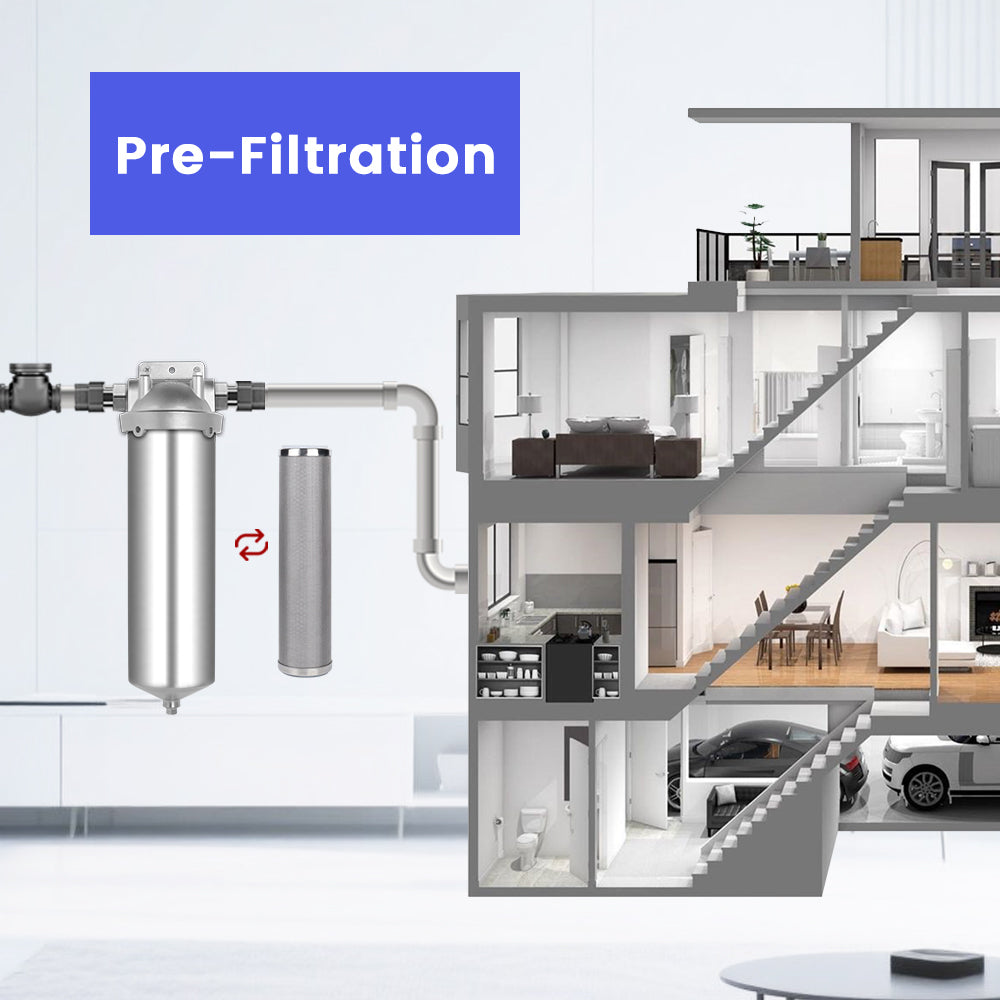
To build this setup at home, you need a robust enclosure to hold these filters securely under constant water pressure. This enclosure is known as filter housing.
Tools and Materials Checklist
To construct a reliable, pressurized under-sink or inline DIY water filtration system, you will need the following tools and materials:
Required Materials:
- Water Filter Housings: The structural backbone of your DIY system. (We highly recommend using a standardized, heavy-duty option like the AMwater 10-Inch Water Filter Housing for a durable and leak-free installation).
- Filter Cartridges: One 5-micron sediment filter and one 5-micron carbon block filter (standard 10-inch size).
- Plumbing Adapters & Fittings: Typically 1/2-inch or 3/4-inch NPT fittings to match your home’s plumbing pipes.
- Mounting Brackets & Screws: To secure the heavy housings to a wall or under-sink cabinet.
- Teflon Pipe Thread Tape (Plumber's Tape): Essential for sealing threaded connections.
- Shut-off Valves: Two valves (one for the inlet, one for the outlet) to isolate the system during future filter changes.
- Flexible Plumbing Hoses: Braided stainless steel hoses for easy connection to your existing cold water line.
Required Tools:
- Adjustable wrench or pipe wrench
- Pipe cutter (if cutting copper or PEX pipes)
- Filter housing wrench (for tight sealing and easy future removal)
- Bucket and towel (to catch minor water drips)
- Pencil and level (for mounting alignment)
Step-by-Step Guide: How to Build a Water Filtration System at Home
Follow these step-by-step instructions carefully to install a reliable DIY multi-stage water filtration system.
Step 1: Turn Off the Main Water Supply
Safety first. Locate your home’s main water shut-off valve (or the dedicated cold water shut-off valve under your sink) and turn it completely clockwise to shut it off. Open the nearest cold water faucet to drain any remaining water and relieve the built-up pressure in the lines.
Step 2: Choose the Installation Location and Pre-Assemble
Select a highly accessible location under your kitchen sink or along your main incoming water line. Keep in mind that you will need enough vertical clearance underneath the system to slide the housing bowls off when replacing filters in the future.
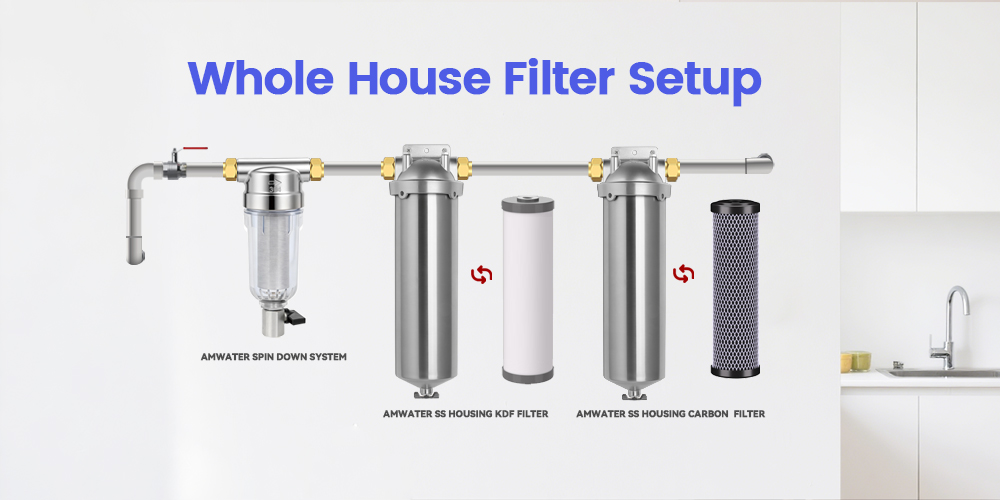
Next, pre-assemble your filter housings on a clean workbench. Wrap Teflon tape clockwise around the threads of your plumbing adapters 5 to 6 times to ensure a tight chemical seal. Screw the adapters into the "IN" and "OUT" ports of your filter housings. If you are building a two-stage system, connect the "OUT" port of the first housing directly to the "IN" port of the second housing using a close nipple fitting.
Step 3: Secure the Mounts with Professional Housings
Water-filled filtration systems are incredibly heavy. Mounting them securely prevents structural stress on your household pipes.
This is where equipment selection becomes crucial. Low-quality, flimsy plastic enclosures often crack under pressure spikes, leading to devastating household floods. For peace of mind, we engineered the AMwater 10-Inch Water Filter Housing with thick, reinforced, food-grade stainless steel. It features a robust mounting bracket design that anchors easily to your cabinet walls, ensuring that your DIY system remains rock-solid and stable.
Hold the mounting bracket against your chosen wall surface, level it perfectly, mark the screw holes with a pencil, and secure the bracket using heavy-duty screws.
Step 4: Splice into Your Cold Water Line
Note: Always connect your filtration system to the cold water line only. Hot water will damage carbon filters and melt plastic components.
Disconnect your existing cold water flexible hose from the shut-off valve. Install a T-valve or connect your new shut-off valve to the water source. Run a flexible braided stainless steel hose from this source valve directly to the "IN" port of your first AMwater filter housing. Then, run a secondary hose from the "OUT" port of the final housing back to your kitchen faucet line.
Step 5: Install the Filter Cartridges
Unwrap your brand-new 10-inch filter cartridges. Place the 5-micron sediment filter into the first housing bowl (Stage 1). Place the carbon block filter into the second housing bowl (Stage 2).
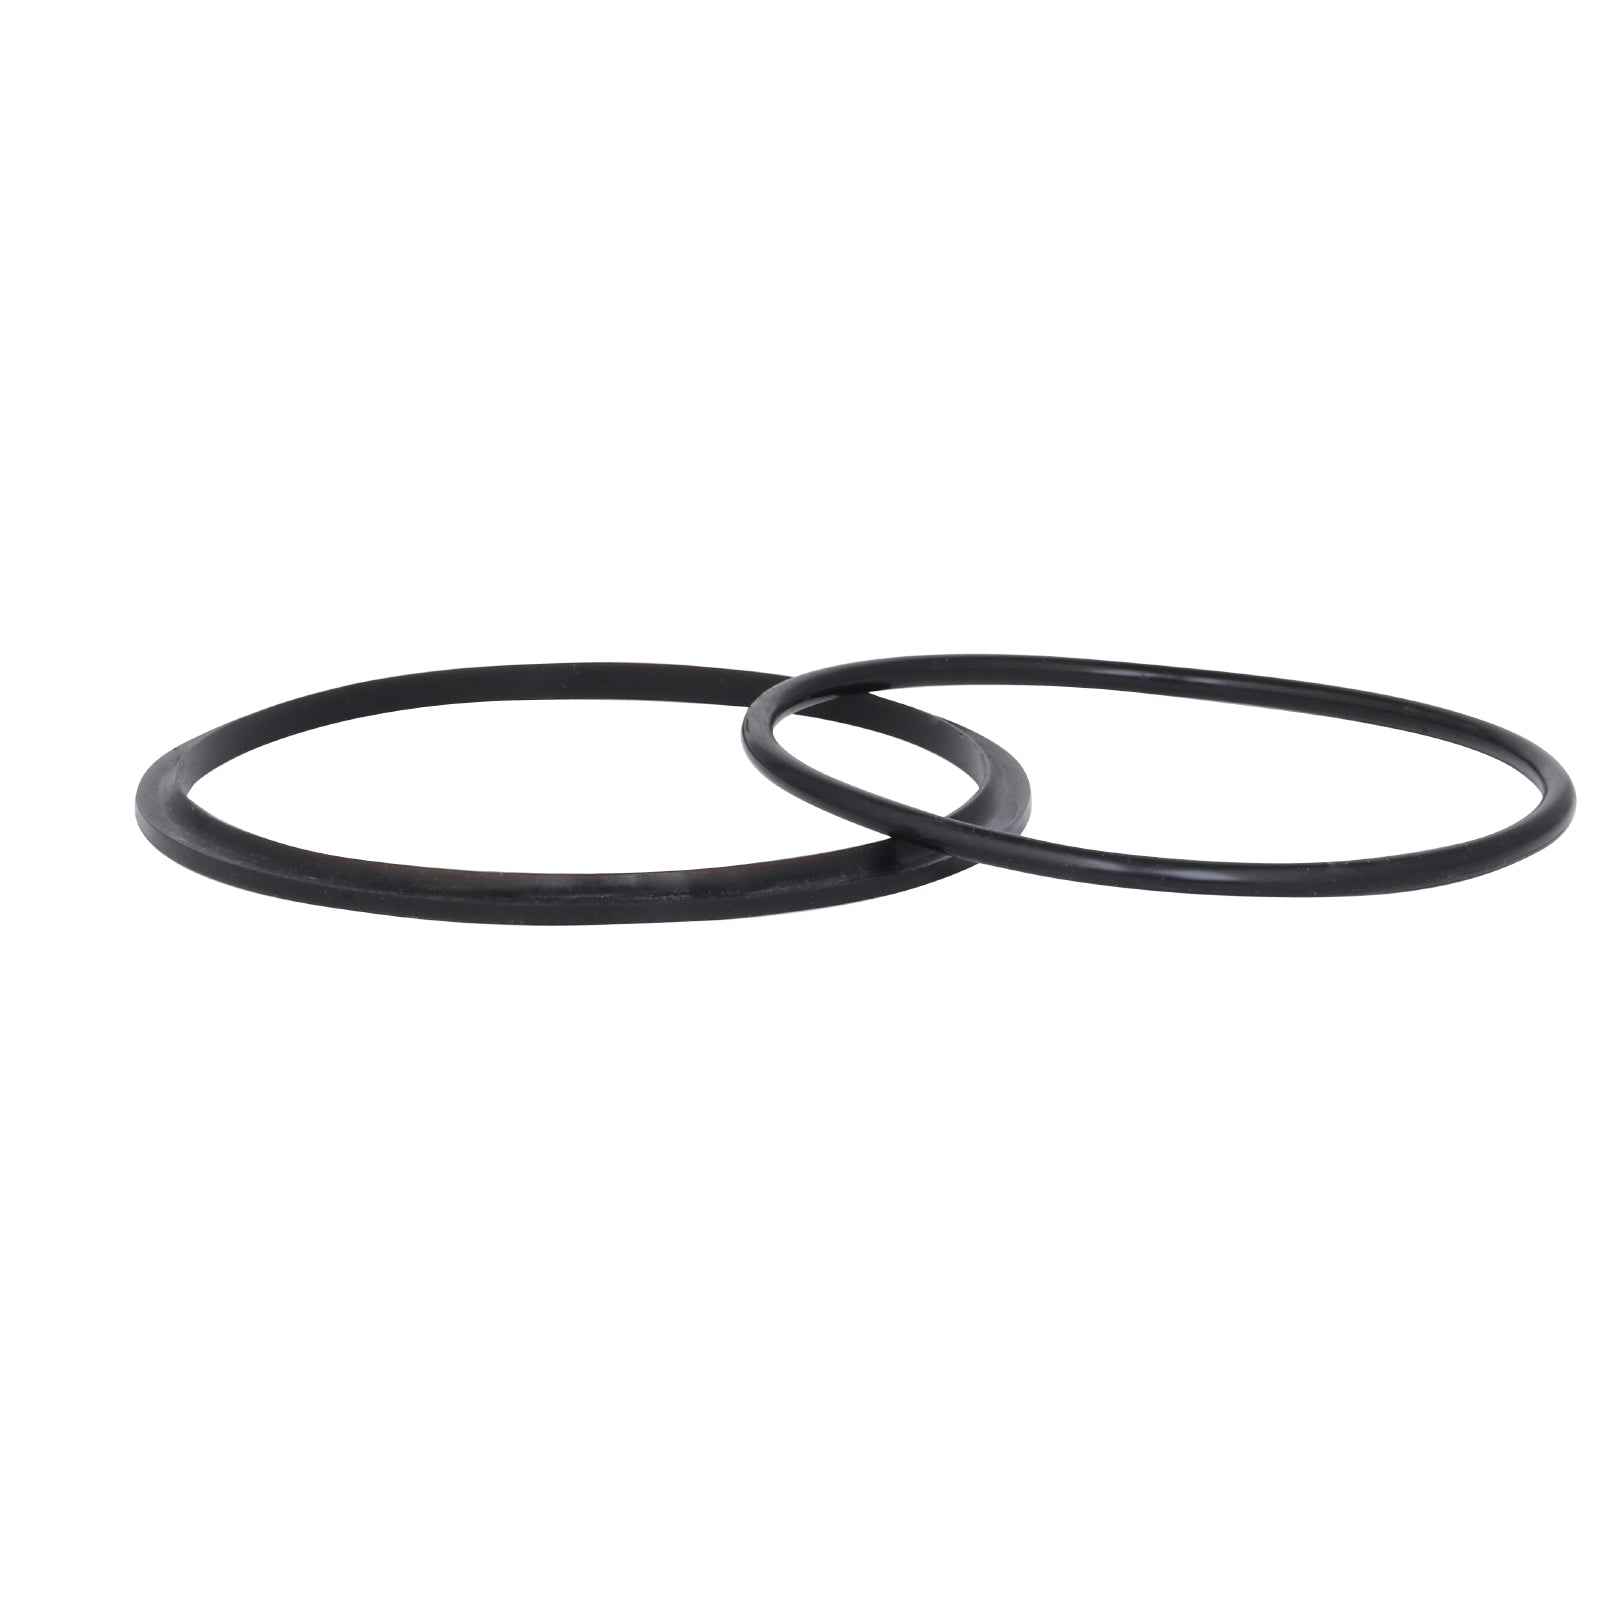
Ensure the black rubber O-rings inside the top of the AMwater housings are properly lubricated and seated flat in their grooves. Hand-tighten the housing bowls onto the caps by spinning them counter-clockwise. Use your housing wrench to give them an extra quarter-turn to snug them up firmly. Do not over-tighten, as this can deform the O-ring and cause leaks.
Step 6: Pressure Test and Flush the System
Place a bucket directly beneath the system just in case. Slowly turn on the main water inlet supply valve. You will hear water rushing into the chambers, compressing the air inside.
Check every single connection joint immediately for tiny water beads or drips. If you see a leak, turn off the water, relieve the pressure, and add more Teflon tape or tighten the fittings slightly.
Once the system is pressurized and completely dry on the outside, open your kitchen faucet fully. Let the water run continuously for 5 to 10 minutes. The water may initially look cloudy or blackish—this is completely normal; it is simply harmless loose carbon dust flushing out of the new carbon block. Run the water until it flows crystal-clear.
Crucial Maintenance: Keeping Your System Safe
Now that you know how to build a water filtration system at home, maintaining it is vital for long-term water safety:
- Sediment Filter Replacement: Change every 3 to 6 months, depending on how much sediment is in your raw water. A visible color change to dark brown or a drop in water pressure indicates it is fully clogged.
- Carbon Block Filter Replacement: Change every 6 to 12 months to ensure maximum chemical adsorption and keep your water tasting great.
- Sanitization: Every time you swap out filters, wash the inside of the housing bowls with warm soapy water and a splash of household bleach to prevent bacterial growth.
Conclusion: Take Control of Your Water with AMwater
Building your own home water filtration system is a fantastic, straightforward project that cuts out expensive technician installation fees and bypasses overpriced proprietary filter brands. By utilizing a multi-stage layout, you can effectively scrub away harmful chemical pollutants, microplastics, and unpleasant odors while preserving the natural minerals your body craves.
Remember, a DIY project is only as strong as its components. Don't compromise on structural safety. By integrating the AMwater 10-Inch Water Filter Housing into your home build, you gain industrial-strength durability, standard compatibility, and unparalleled leak protection.


Leave a comment
This site is protected by hCaptcha and the hCaptcha Privacy Policy and Terms of Service apply.