
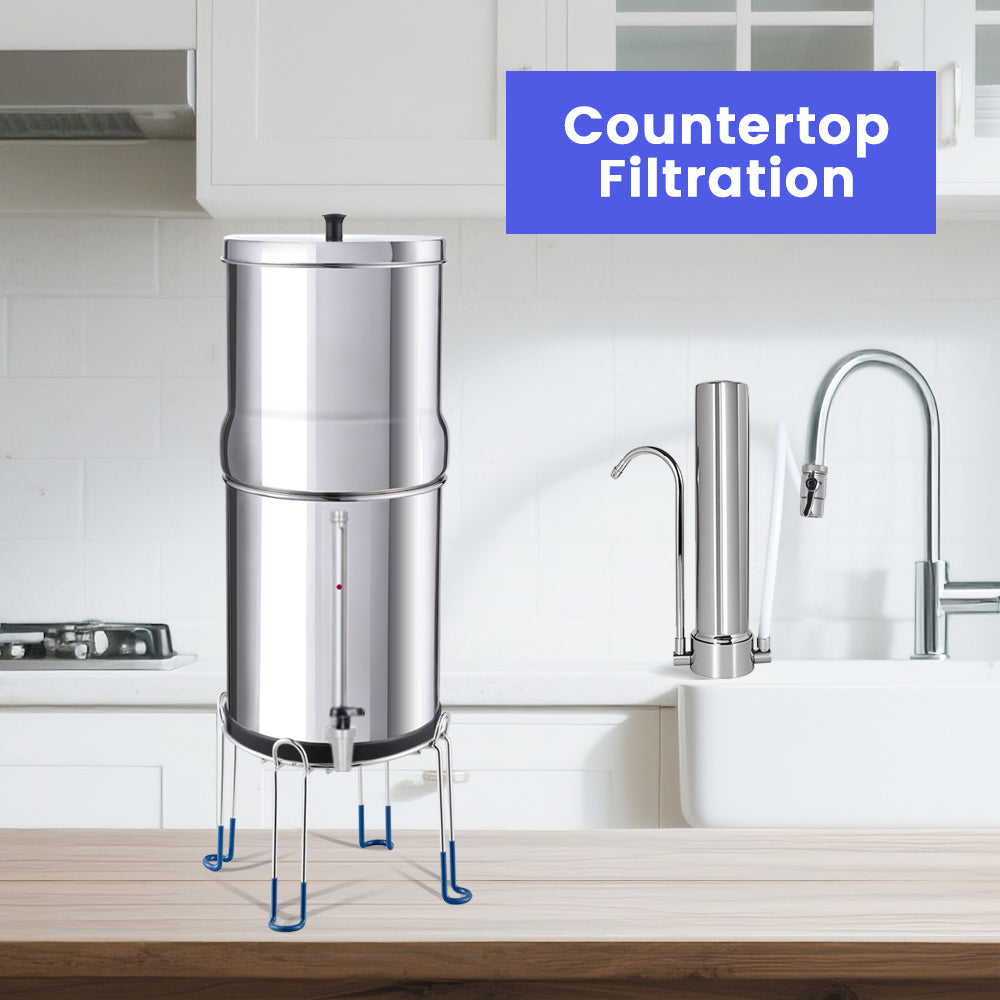
Having clean, pure water flowing from every single tap in your home is a massive upgrade for your lifestyle. From extending the lifespan of your expensive plumbing fixtures to shielding your family from harsh chemical tastes, heavy metals, and pipe sediments, a home water filtration system is an invaluable asset. While buying an all-in-one pre-assembled commercial system can cost thousands of dollars in equipment and plumbing labor, building your own custom setup is a surprisingly achievable and highly economical project for any passionate DIY enthusiast.
But how do you make a water filtration system at home that is reliable, robust, and capable of handling whole-house water pressure without springing catastrophic leaks?
In this professional blueprint, we will break down the essential engineering of home water purification, list the industrial-grade components you need, and provide a clear step-by-step assembly guide to constructing your own high-performance filtration system.
The Blueprint: Designing a Reliable Multi-Stage System
Before purchasing pipes and fittings, you must design a system that targets water impurities sequentially. A single filter media cannot do everything. A truly professional home setup requires a multi-stage progressive filtration layout:
-
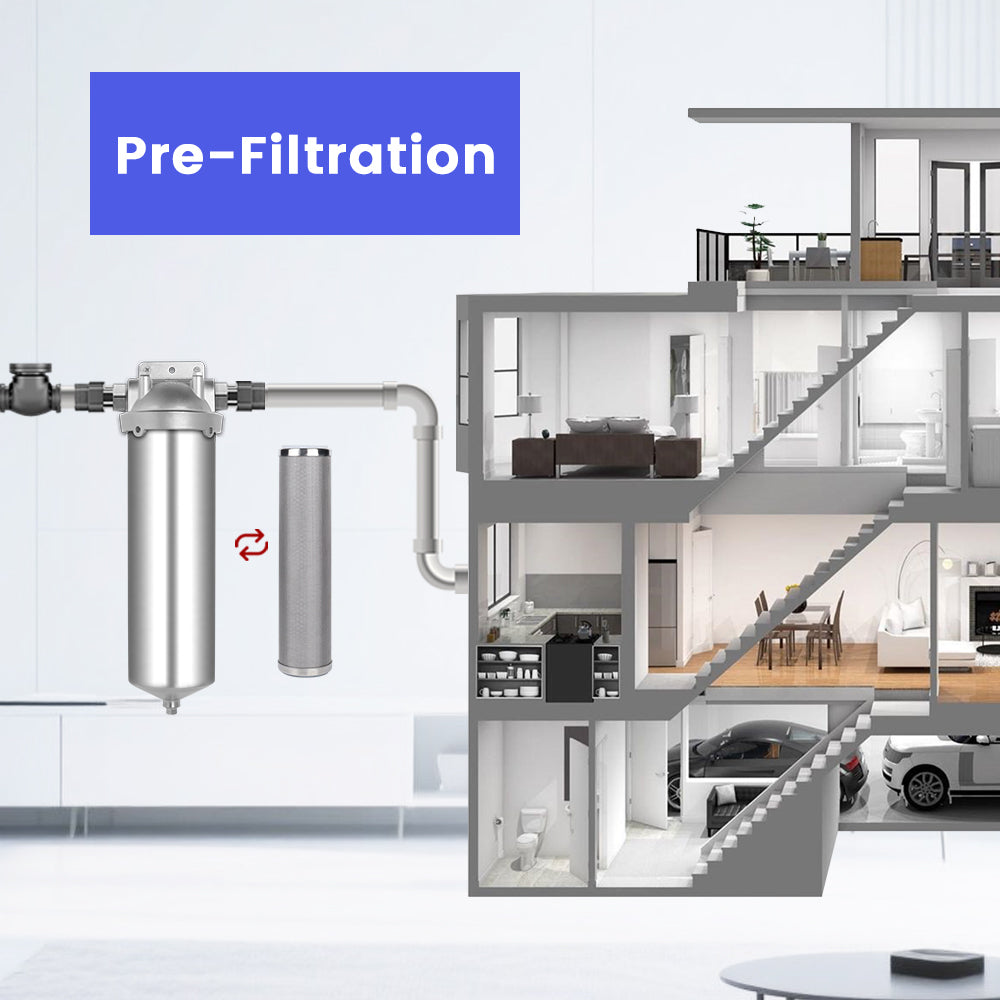
Stage 1: Coarse Sediment Pre-Filtration: This stage catches heavy, visible particles like large flakes of rust, sand, silt, and pipe scale. It shields your main filters from blinding or clogging prematurely.
-
Stage 2: Fine Sediment Micro-Filtration: Typically a 5-micron or 1-micron spun-polypropylene or pleated cartridge to capture microscopic suspended solids.
- Stage 3: Chemical Adsorption: A dense activated carbon block to trap chlorine, chloramines, volatile organic compounds (VOCs), agricultural pesticides, and foul chemical odors.
To make this system fully operational for a whole house, you must plumb these stages inline right where your main water line enters the building (Point-of-Entry).
Tools and Materials Checklist
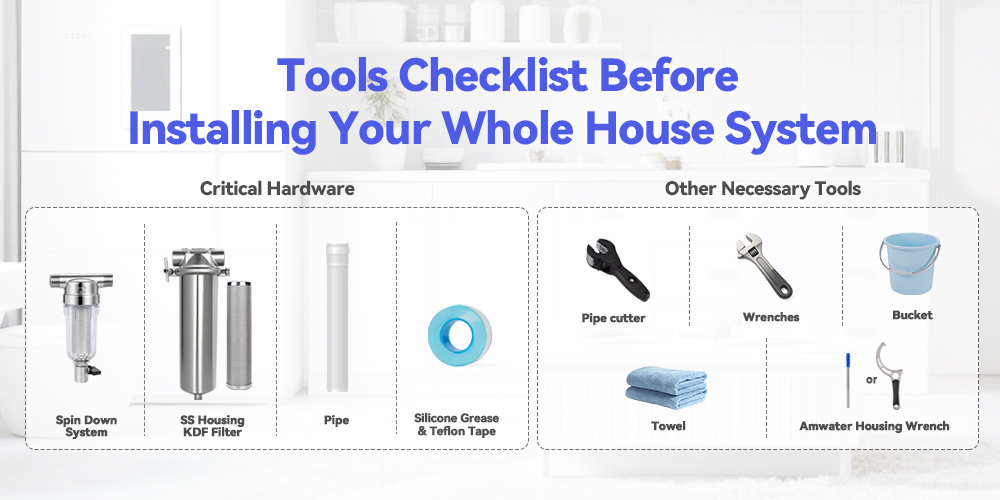
To construct a durable system that safely manages continuous plumbing pressure, make sure you gather the following high-quality materials:

-
Sediment Pre-Filter: A heavy-duty, flushable coarse sediment trap.
-
Whole-House Filter Housings: Industrial-strength enclosures (typically 10-inch or 20-inch Big Blue style) to hold your micro-sediment and carbon block filter cartridges.
-
Housing Clamps/Brackets: Heavy-duty metal structural supports to secure the filtration housings to your wall.
-
Plumbing Fittings & Valves: Shut-off ball valves, bypass valves, and NPT union adapters (matched to your home’s 3/4-inch or 1-inch pipe diameter).
- Plumber’s Tape: Premium Teflon pipe thread tape.
Necessary Tools:
- Pipe cutter (Copper, PEX, or PVC depending on your existing lines)
- Adjustable wrenches and pipe wrenches
- De-burring tool
- Housing filter wrench
- Bucket and dry towels
Step-by-Step Assembly: How Do You Make a Water Filtration System?
Follow these steps meticulously to build a professional-grade inline home water filtration network.
Step 1: Isolate and Drain the Main Water Line
Locate your property's main water shut-off valve. Turn it completely off to halt all incoming flow. Next, open the lowest faucet in your house (such as a basement utility sink or an outdoor garden spigot) along with the highest faucet to drain all residual water out of the lines and fully relieve system pressure.
Step 2: Establish the First Line of Defense with Pre-Filtration
When building a custom setup, many DIYers make the mistake of running water directly into their fine carbon block filters. This causes fine filters to clog up within a few weeks due to heavy sand or rust surges.
To solve this, your first installation step must be a dedicated mechanical pre-filter. We highly recommend starting your loop with the AMwater Spin-Down Water Filter. Featuring a reusable, high-tensile stainless steel mesh screen, this rugged pre-filter acts as an indestructible shield, spinning out large chunks of debris, dirt, and sand before they can enter your delicate secondary filtration stages. It features a convenient sediment purge valve at the bottom, allowing you to flush out captured sand in seconds without turning off your water or buying replacement paper cartridges.
Step 3: Secure the Core Architecture Under Extreme Pressure
Once water passes through your pre-filter, it travels into your main whole-house filter housings (the large canisters holding your fine sediment and carbon blocks). Because whole-house systems experience massive kinetic pressure and constant water hammer spikes whenever appliances click on, the connection joint where the housing head mounts to the wall bracket is the most vulnerable point for structural failure.
When figuring out how to build a safe water filtration system, do not cut corners on structural integrity. This is where the engineering team at AMwater provides the ultimate security.
By utilizing the AMwater Whole House Water Filter Housing Clamp Head, you gain an industrial-grade, heavy-duty clamping ring system that anchors your filter housings with maximum rigid stability. Built to withstand high-pressure spikes without flexing or cracking, this reinforced clamp head ensures a perfectly square, unyielding seal between your plumbing lines and your filter canisters, totally eliminating the risk of stress cracks or catastrophic basement flooding.
Mount the bracket securely to a solid backing board or wall studs using heavy-duty lag screws, ensuring it is level and leaves enough clearance underneath for cartridge replacements.
Step 4: Plumb the Manifold and Bypass Loop
Plumb your main inlet pipe to the inlet of the AMwater Spin-Down Water Filter, run the outlet of the spin-down into the inlet of your first whole-house housing, and link the housing sequence together using threaded brass or PVC close nipples. Ensure you wrap all male threads with 5-6 wraps of Teflon tape in a clockwise direction to guarantee a watertight seal.
Step 5: Install Filters and Tighten the Housing Bowls
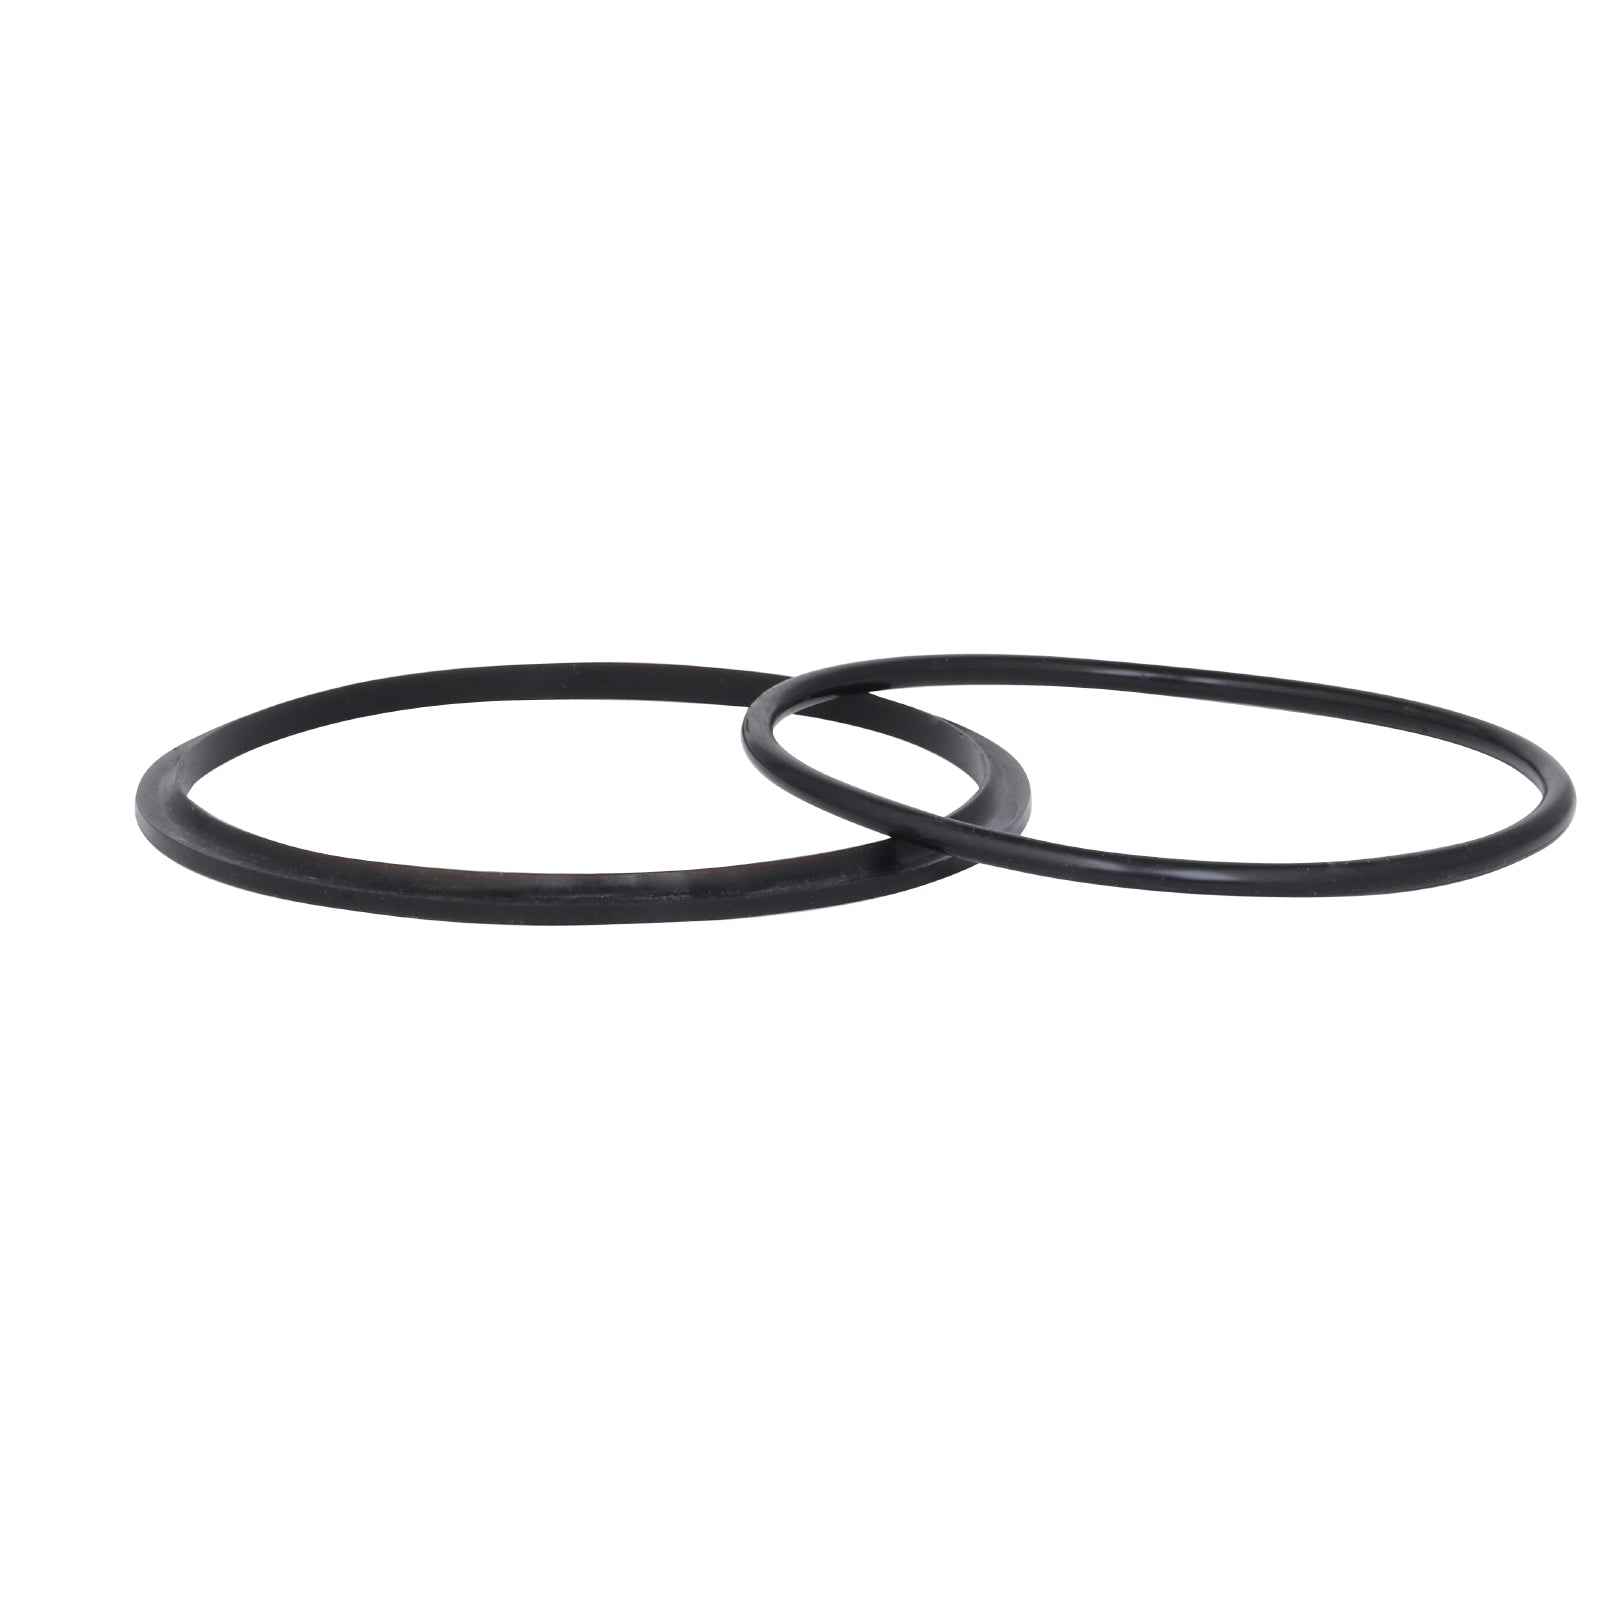
Unwrap your fine sediment cartridge and your high-density carbon block filter. Drop them centered into their respective filter housing bowls. Check that the rubber O-rings inside the housing heads are well-seated and slightly lubricated with food-grade silicone grease.
Thread the housing bowls onto your securely clamped AMwater Whole House Water Filter Housing Clamp Head assembly. Hand-tighten until snug, then use your plastic housing wrench to give them an additional quarter-turn to lock the seals in place.
Step 6: Pressurize, Leak Test, and Flush
Keep your household bypass valve open, and slowly crack open the main inlet supply valve to allow water to gradually fill the new filtration loop. Check every single threaded union, adapter, and housing ring immediately for tiny water droplets or leaks.
If the system is dry and holding pressure perfectly, close the bypass valve and open your downstream household faucets. Let the water run for roughly 10 minutes. The water may look dark or cloudy at first—this is just harmless carbon dust blowing out of the brand-new carbon block filter. Once the water runs perfectly crystal-clear and taste-free, your custom DIY build is officially complete!
Pro-Tips for Long-Term System Maintenance
-
Purge the Pre-Filter Weekly: Open the bottom flush valve of your AMwater spin-down filter once a week to clear out accumulated sand and scale.
-
Track Your Pressure: Install simple pressure gauges before and after your whole-house housings. A pressure drop of more than 10-15 PSI across the system tells you it is time to swap out your internal filter elements.
- Sanitize Annually: When replacing your carbon block filters every 6 to 12 months, wash the empty housing bowls with warm soapy water to keep the interior pristine.
Conclusion: Take Control of Your Home’s Water with AMwater
Answering the question of how do you make a water filtration system reveals that you don't need a professional plumbing degree to enjoy premium, pristine water quality. By implementing a progressive multi-stage design, you can easily filter out harmful sediment, chlorine chemicals, and foul odors on your own terms.
However, a pressurized system is only as strong as its weakest component. Protect your property by building your system around heavy-duty, professionally engineered equipment. By grounding your plumbing grid with the rugged reliability of the AMwater Spin-Down Water Filter and the uncompromising structural strength of the AMwater Whole House Water Filter Housing Clamp Head, you ensure your DIY project delivers industrial-grade durability and pure, delicious hydration for many years to come.


Leave a comment
This site is protected by hCaptcha and the hCaptcha Privacy Policy and Terms of Service apply.